It seem’s like forever since I’ve uploaded anything on my blog!
As always, I have no excuse really (apart from being busy with work and living in Canada) – which reminds me, I should really write some posts about Canada as I’m sure I’ll have lots of useful information for fellow travelers! However, for now I’m going to write about Hawai’i while it’s still fresh in my mind.
I’d never really had a chance to go to the islands of the Dole Pineapple, but the chance arose when my boyfriend and I were heading back to New Zealand for Nathan’s sister’s wedding in February.
I figured, if we were taking the 14 hour flight from Canada to New Zealand, we may as well break the trip up on the way back and explore Hawai’i!
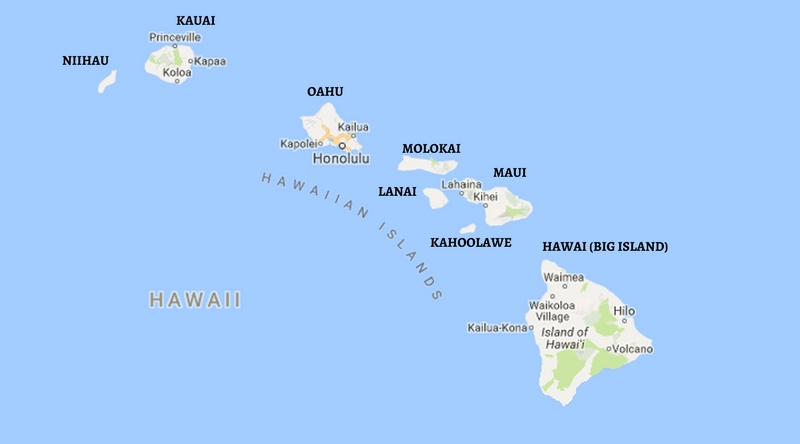
I’ve realized from working as a Travel Agent in both New Zealand and Canada, Kiwi’s tend to head to the island of Oahu when they go to Hawai’i whereas Canadian’s love to travel to the other islands such as Maui and Kauai. (They find Honolulu to be too touristy and Americanized)
Now that I’ve visited Oahu I definitely agree that it’s very similar to main-land America, but still beautiful and interesting it’s in own way. (Fun fact, it’s actually pronounced “Ha-va-ee-ee”)
Day One (Feb 28th)
Nathan and I took a red-eye flight from Auckland (NZ) straight to Honolulu. Luckily we had access to the Koru Lounge at Auckland Airport before we departed so took full advantage of the free food, drinks and showers before we boarded the 8 hour flight.

The flight departed Auckland at 9:05pm and arrived into Honolulu around 6:30am in the morning. Nathan and I got Air New Zealand’s SkyCouch so thankfully we had a little bit of a sleep before we arrived.
(For those that haven’t flown with Air New Zealand, the SkyCouch is basically a row of Economy Seats that turn into a Couch after take-off. When you upgrade to the Economy SkyCouch you get the whole row to yourself – or the other passenger you’re traveling with – so you can lie down, have a nap or stretch out to watch some movies)
Depending on your travel route, the Skycouch can cost between $300 to $1800 extra. For example, if I was traveling from Vancouver – Auckland by myself and wanted the whole row, it would be approx CAD$1799 extra as I’m technically taking up a whole row. As there was two of us, it’s usually $799 extra for that routing. Luckily we didn’t pay that much as there’s other way’s to get the couch for cheap! Helps if you’re a travel agent too and can write cheeky little requests on your booking 😉
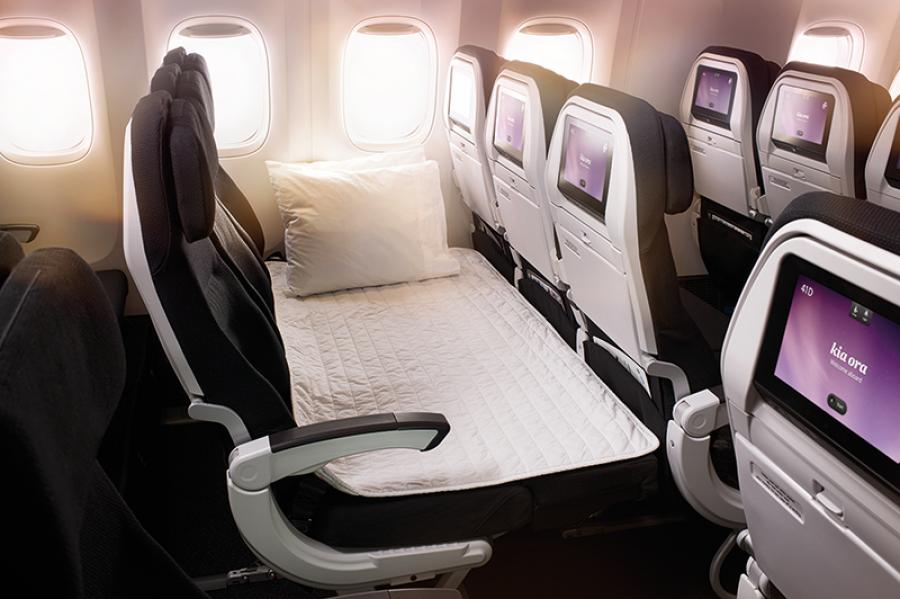
Nathan and I were actually double lucky as we got to take advantage of the Skycouch from Vancouver – Auckland and again from Auckland – Honolulu. Two long over-night flights where we flew in comfort!
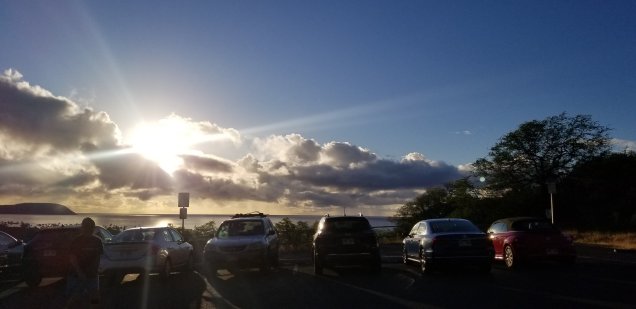
Once we arrived into Honolulu, we ordered an Uber from the Airport. It cost us approx USD$30 for the 30 minute ride to our hotel.
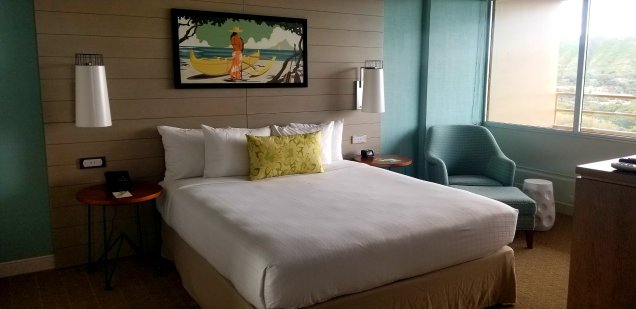
I had organised for us to stay at The Queen Kapiolani Hotel which was only a block back from the beach and pretty much right across the road from the zoo – a great option if you want to be close to everything but don’t want to pay the outrageous prices of staying directly on the beach in Honolulu.
We arrived at our hotel around 8am so we couldn’t check-in yet. Luckily we got to meet with one of the hotel’s representatives Jen who took us for a wee tour around the property.

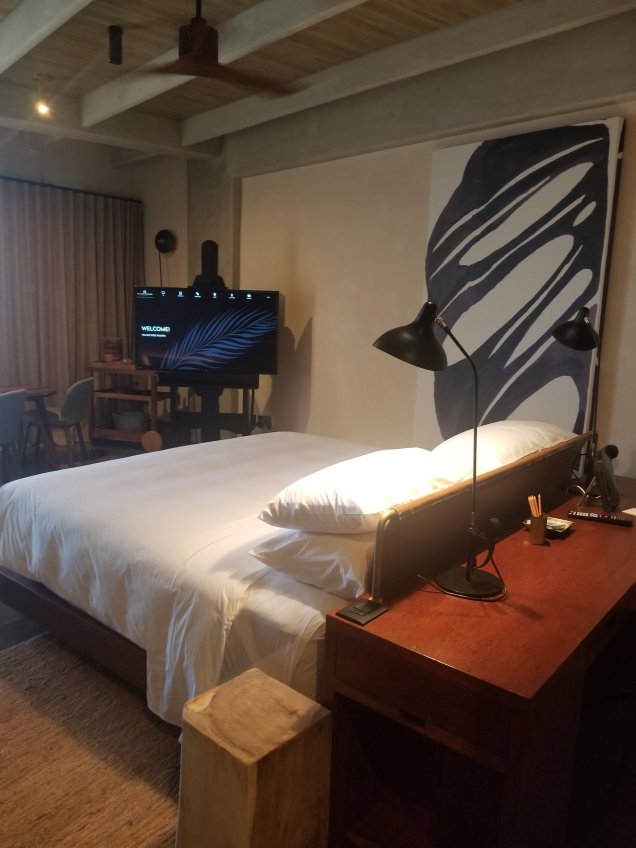
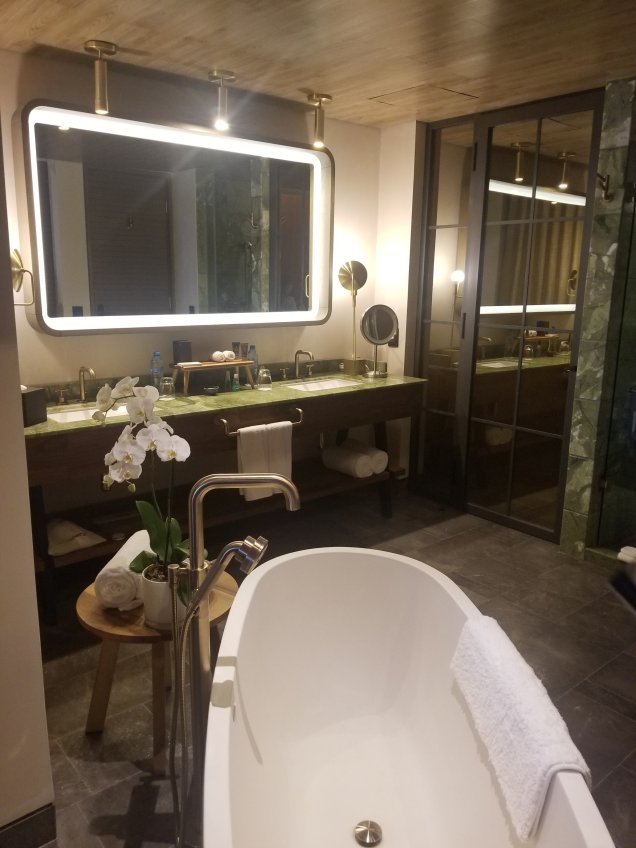
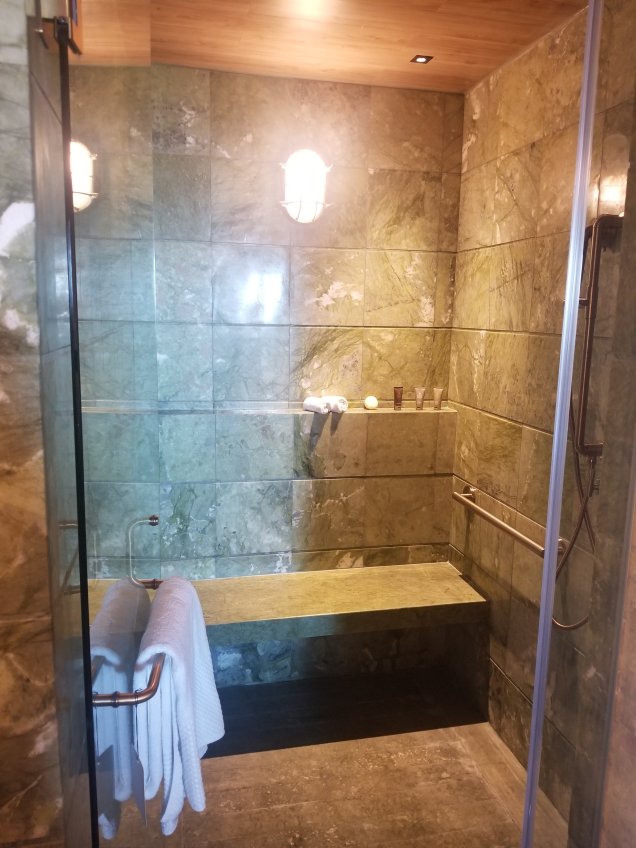
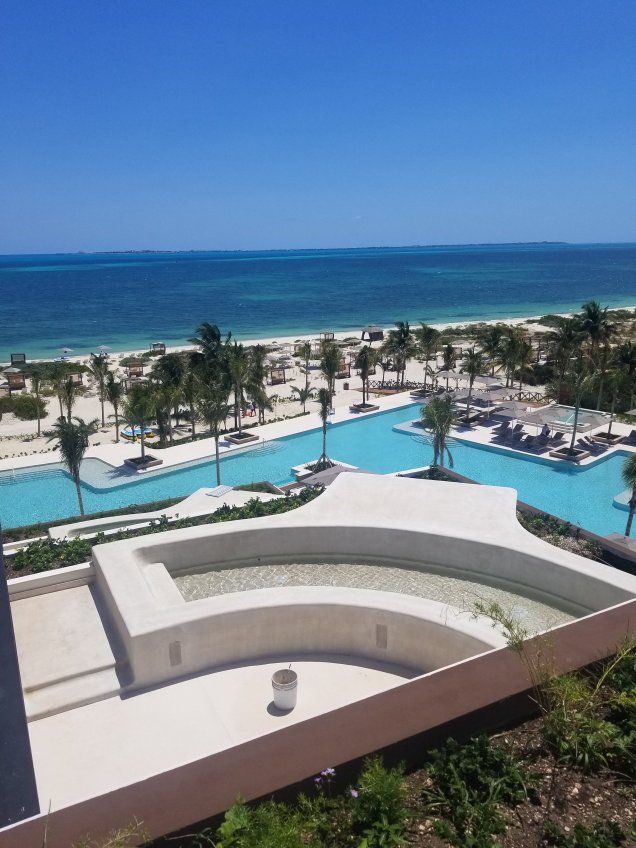
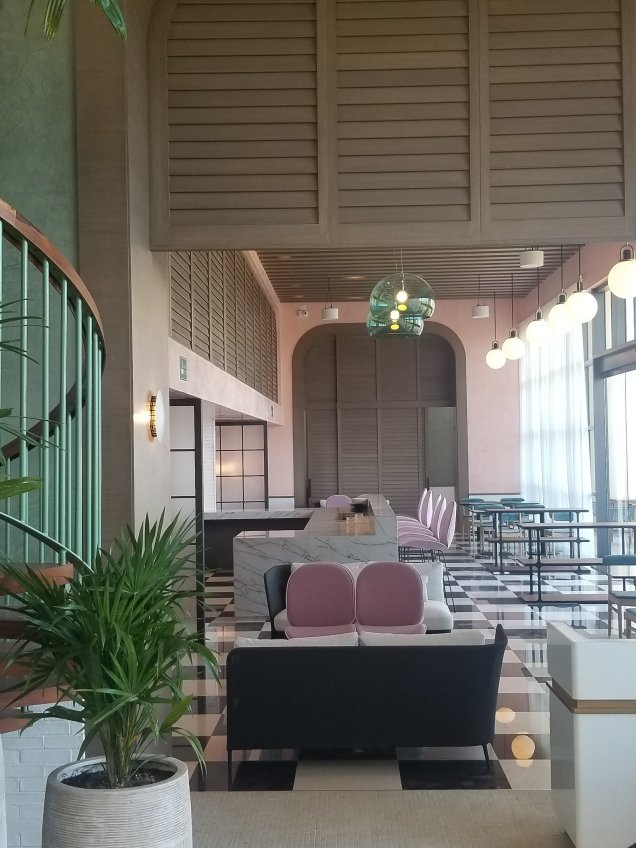
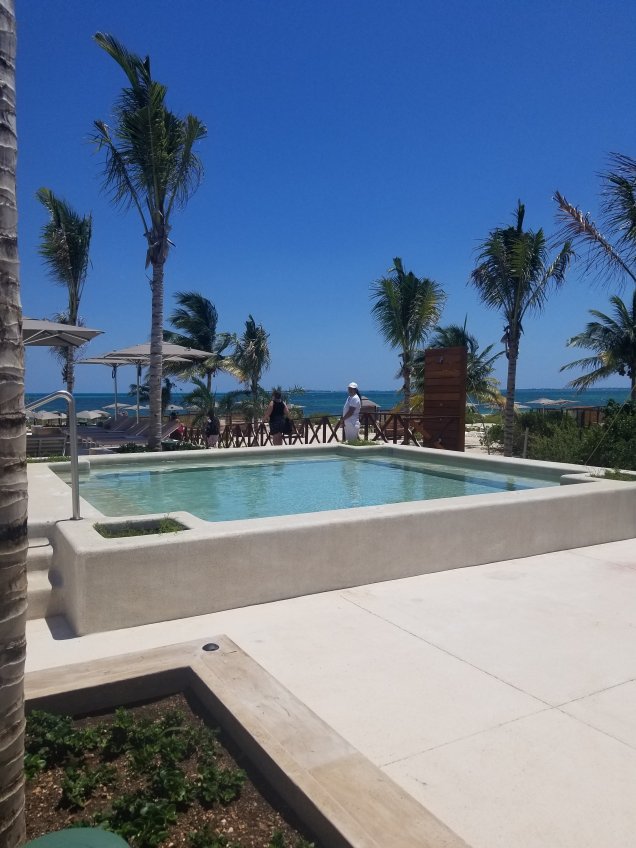
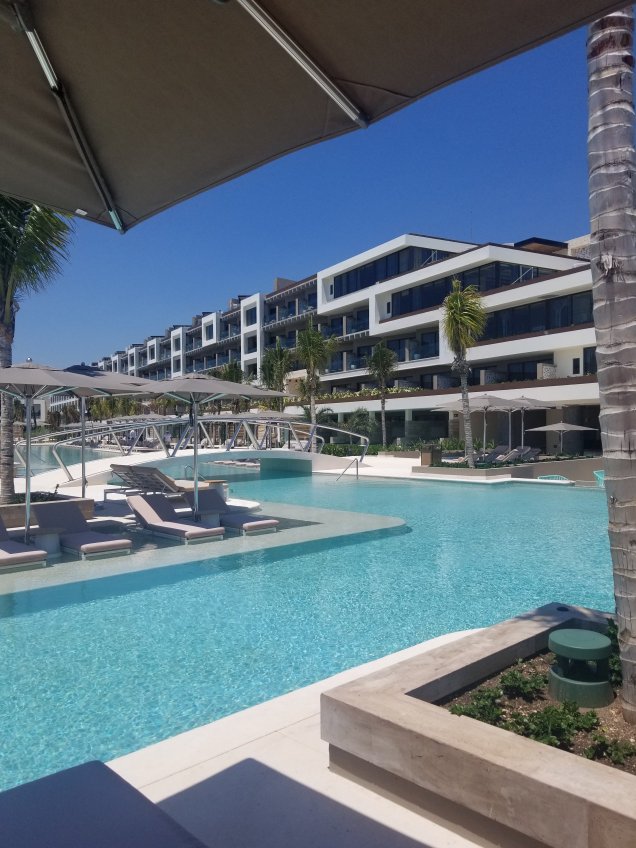
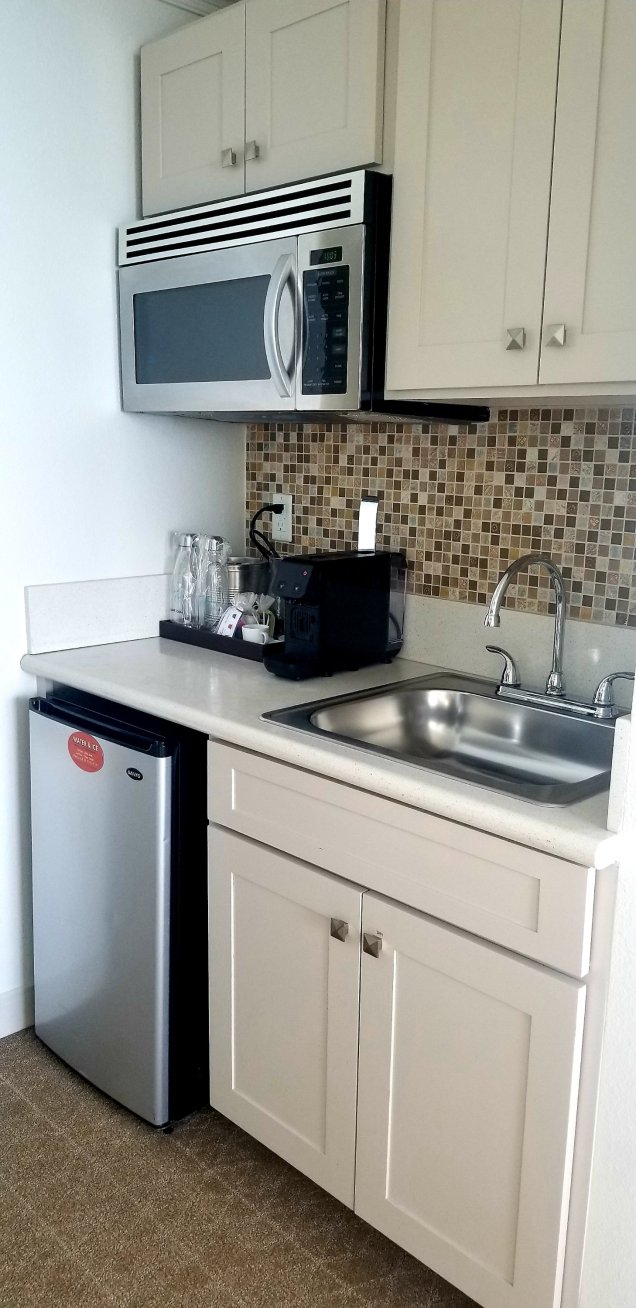
The hotel had just been renovated so all the rooms were looking spick and span! Not to mention they have this gorgeous area on the third level which has a pool, bar, restaurant and conference center.
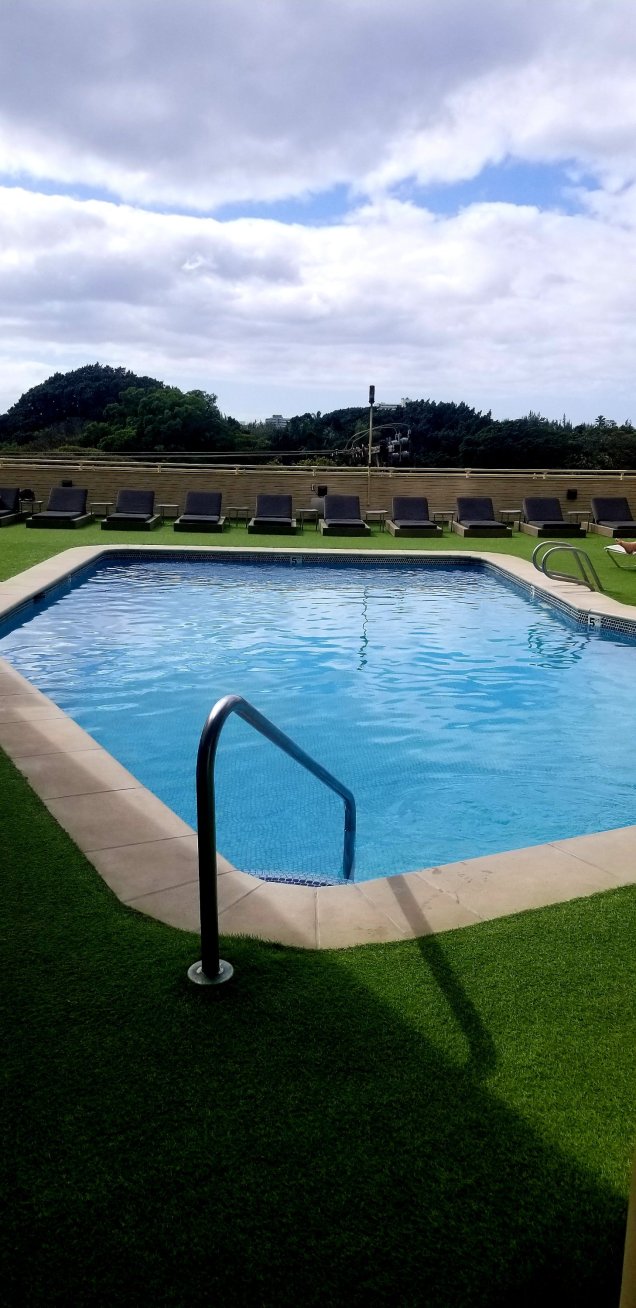
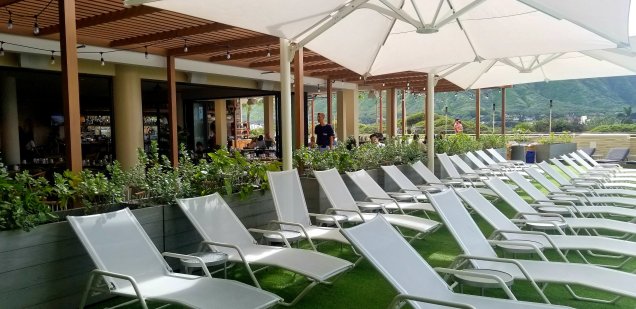
During our stay it never felt crowded or loud with too many people at the pool. So many people go to Hawai’i for the beaches that they don’t use the pool too much which is a plus if you want a moment away from the hustle and bustle of the beach to relax on a sun lounger with a good book and drink in your hand.

If you’re like Nathan and I and enjoy working out on your holiday 😉 you’ll appreciate the The Queen Kapiolani has a fresh new gym with really good equipment! As we only had 3 nights in Honolulu, we only visited the gym to take a few pictures and didn’t actually work out (I know, such a shame) but it looked like a pretty decent place to work out!
Jen shouted us breakfast down at Knott’s Coffee Roasters (the coffee shop in the lobby) and recommended lots of things for us to see, do and eat during our stay.
As soon as we were able to, we headed off to explore the streets of Honolulu.
This slideshow requires JavaScript.
While we were out walking, tt wasn’t long before the Hotel texted us and told us our room was ready. We were pretty tired by this stage so walked back to our hotel, checked in to our room and grabbed our togs to hang out at the pool. I think I fell asleep in the sun a couple of times and for a Winter’s day , 25 degree’s wasn’t too bad!
I got a bit snacky around lunch time so ordered some gauc and chips plus a Cider from Deck. (The hotel’s restaurant/bar) which was super yummy! I think I gained like 20 pounds the whole time in Hawai’i from eating so much avocado!
To be honest, we didn’t do too much else on our first day. When the sun was setting, we went down to the beach, took a few photos and then lined up at The Cheesecake Factory for dinner. Anyone who knows us knows we loooove The Cheesecake Factory. We’ve been a few times when we’ve traveled down to Seattle, also in New Jersey and now in Honolulu. The food is always great quality, generous portions and very well priced for what you get!
Day Two
Nathan had said to me the night before that he wanted to get up early and walk up Diamond Head. Our alarms went off around 5:30am (we wanted to watch the sunrise) but we both didn’t even attempt to get out of bed due to being really tired so we gave it a miss!
Instead we had a little sleep in and left our hotel around 10:30am to hire a car to drive around the whole island.
If you have Bluetooth in your car, I highly recommend downloading these tour guide apps called Gypsy Guides. You can download them on your Google Play or Apple Store and they’re super cheap! (Like $8)
When we drove through the Rockies in Canada we downloaded a few and they were so useful and informative!
As we knew nothing about Oahu, we downloaded the one called ‘Oahu Driving Tour’. You have the choice to drive clockwise or anti clockwise around the island and you just follow the narration to continue on an entire Island Tour. It’s basically like having a guide in your car that tells you some history of the island, where a good place to stop for lunch is and other interesting facts about Hawaii.
These are some of the pictures we took along the way (as I was driving I didn’t get to take as much as I would have liked!)
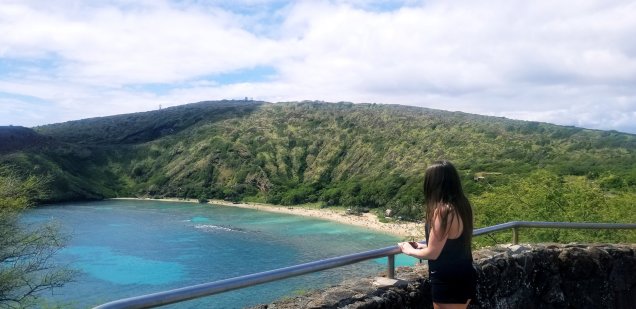
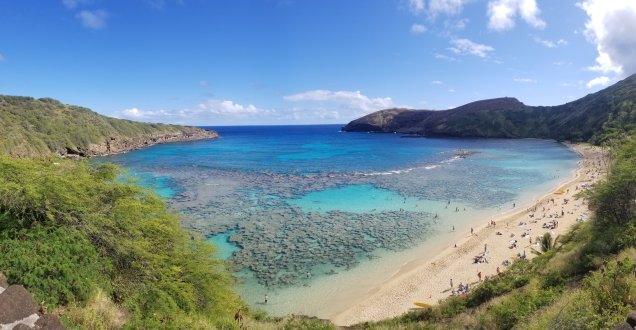
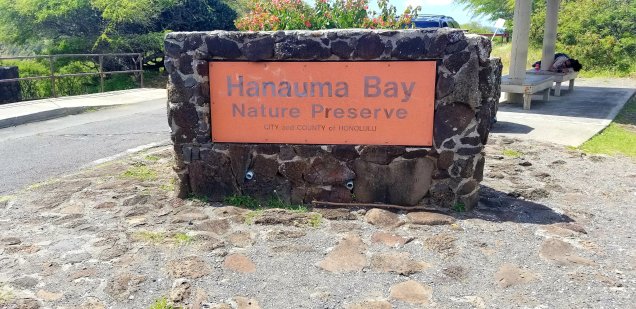
Hanauma Bay

Over a thousand years ago, a violent eruption blew out one side of the crater, creating the crescent moon-shaped beach that is now called Hanauma Bay. It was even Voted Best Beach in 2016. We only stopped for a quick photo but we decided to definitely come back the next day as the water was so clear and inviting! It’s known in Hawaii as the best spot for snorkeling and I do love a good snorkel so made Nathan promise we’d come back 🙂

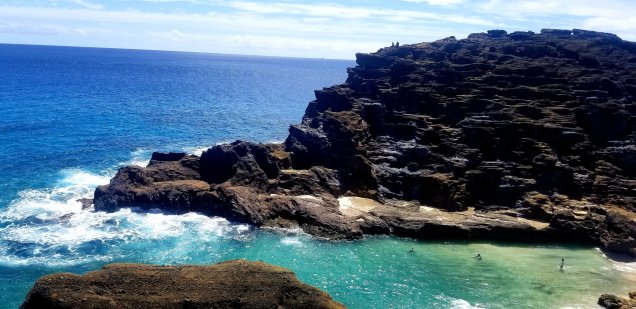
Hālona Blowhole/Beach
This was one of my favorite spots in Hawaii!
Hālona, in Hawaiian, means “lookout,” and from the here you can see miles of pristine coastline waters from the lookout. On clear days, the islands of Moloka‘i and Lāna‘i can also be seen in the distance. We pulled over to the lookout and took some pictures of the view. We even saw some whales off in the distance as it was Whale Season.


Just below the outlook is this beautiful little beach called Hālona Beach Cove. It was like something out of a movie!
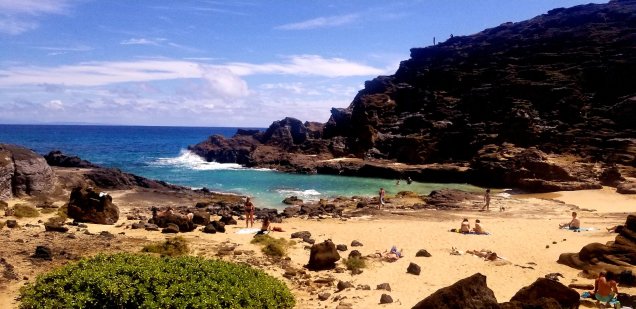


When you walk down to the beach, you’ll find this little cave which you can walk through and it’ll take you through the mountain onto the other side. From what I read online the cave was formed millions of years ago by rapidly moving lava flows leaving what is called “precast concrete lava tubes.” It get’s a little dark and claustrophobic though so I decided not to go into the cave to see what was on the other side haha!
If you don’t feel like driving around the whole Island, Halona Blowhole is only about a 20 minute drive from Waikiki so you could easily take an Uber and chill out here for the day if you wanted to! Just make sure to bring a towel and some sunscreen as it can get pretty warm, especially during the Summer. Plus, there’s nowhere really to eat around here so it’s best to bring some food and water too.
From the blowhole, Nathan mentioned that Jen had shown him photos of this awesome Rock Arch which was nearby.
We crossed the road and walked up the highway a little bit then started walking up a crater to get to this arch. I couldn’t really see any Arch in the distance but trusted Nathan as he said the pictures looked really cool and he “had to take a picture of it”
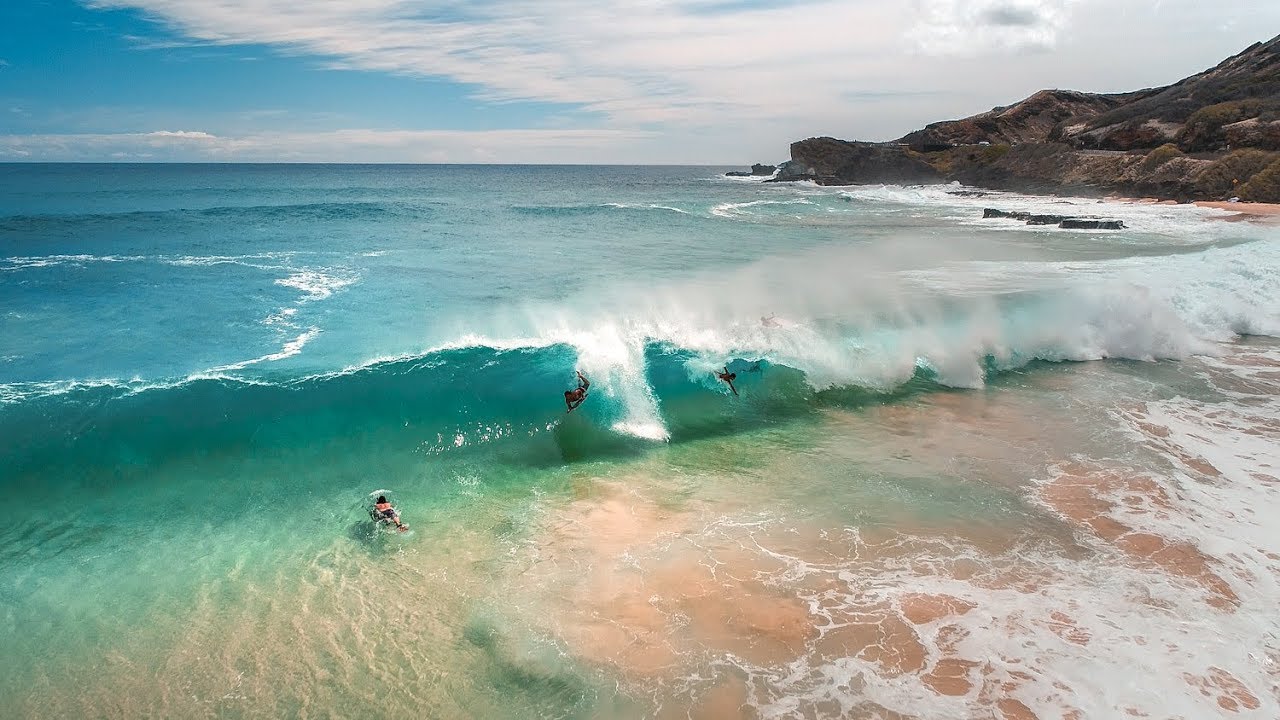
When I finally saw this Koko Crater Arch, I wasn’t really impressed. In fact, I actually stopped walking and let Nathan go ahead as the climb started to get pretty tricky. It was literally a rock on the side of the crater. I admit though, the pictures that other people have taken (as shown below) look awesome but if you look at my picture afterwards it doesn’t look as awesome.
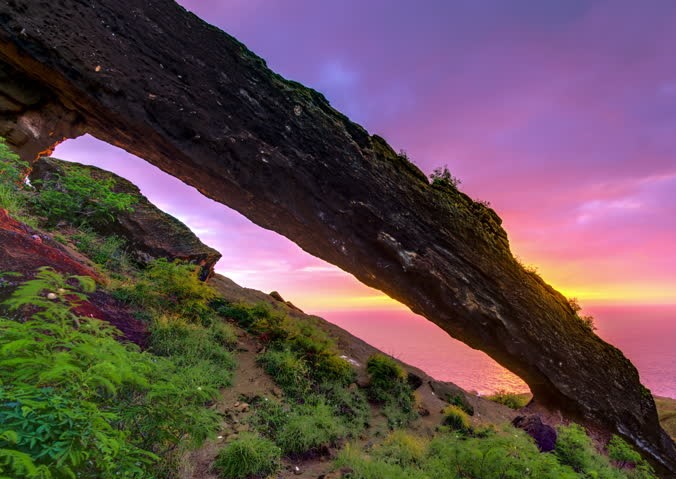 Source
 While I waited for Nathan to take his pictures, I took a few of the view which was still pretty nice.
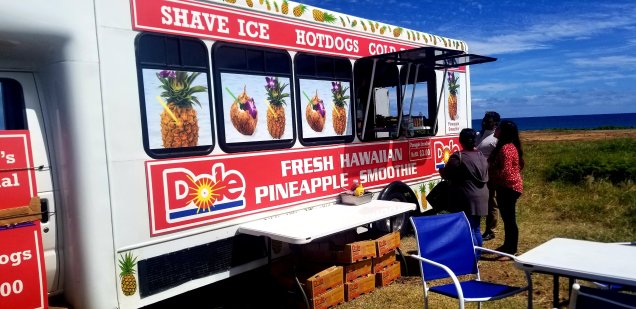
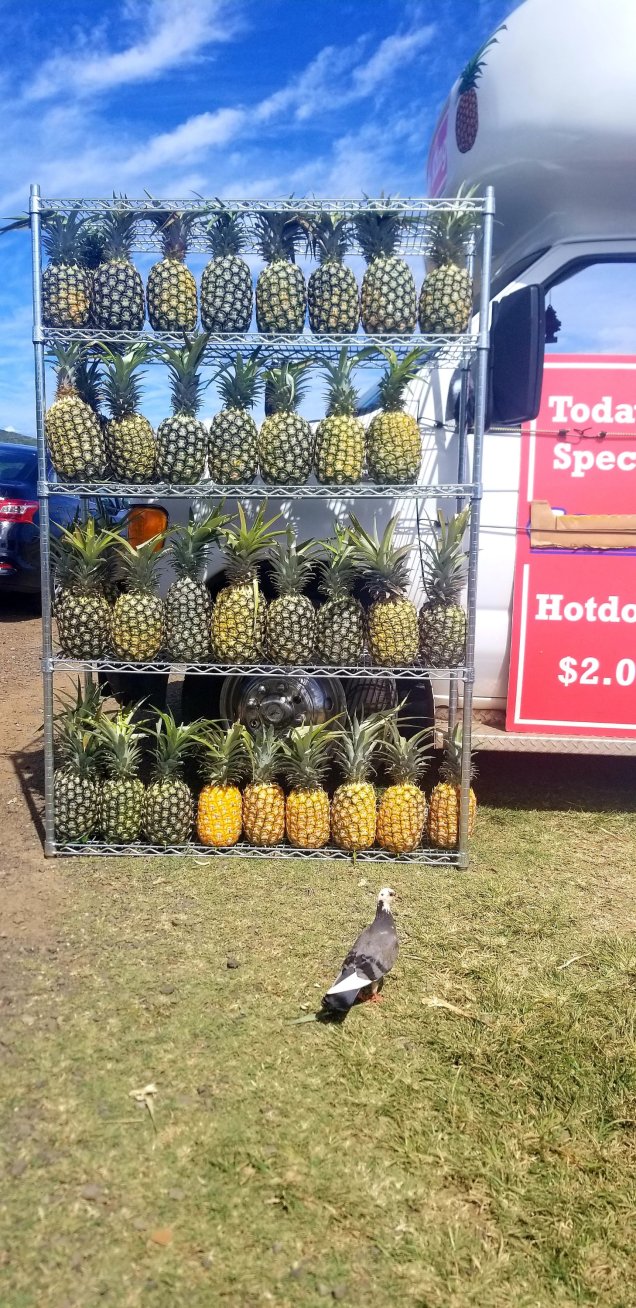
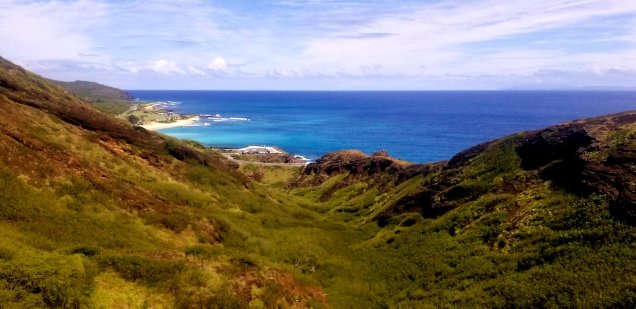 Further along during our drive, we started getting thirsty and saw a sign for these massive pineapple smoothies so we decided to stop. After seeing the price of them though, we chose a juice and sprite instead! (Budget travelers I know)
They were like USD$10 which is the equivalent of CAD$14 (plus the conversion fee of my Credit card – urgh)
Kailua Beach
It was starting to get a bit windy so we only stopped at Kailua for a little bit.
Even though the Sun was behind the clouds and my pictures make the beach look a bit gloomy, it looked like a great place for families to enjoy as the park grounds had bathroom facilities, beach showers, and picnic tables.
There’s a also a natural sea rock wall that stretches out into the ocean, which helps with the waves and keeps the water pretty calm. 

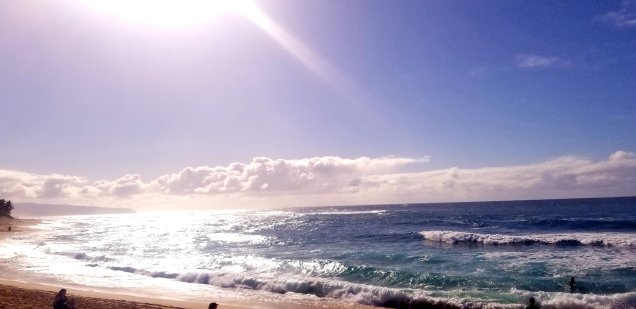
Sunset Beach
Located on the North Shore of Oahu, Sunset Beach is known for it’s big-wave surfing during the Winter. Like many beaches on the North Shore, Sunset Beach is not suitable for people who are learning how to surf. There’s an extensive coral formation near the surface and the surfing conditions change from spot to spot along the beach.
I learnt this from the Gypsy Guide app. apparently Kelly Slater (who won more world pro surfing leagues than you have fingers) was never able to win the circuit stop at Sunset Beach. Not to say he was bad, just the waves were so big!
In Winter, the waves are usually around 10-12ft but the biggest wave ever was 85ft high! It’s almost impossible to paddle into waves bigger than 40ft.


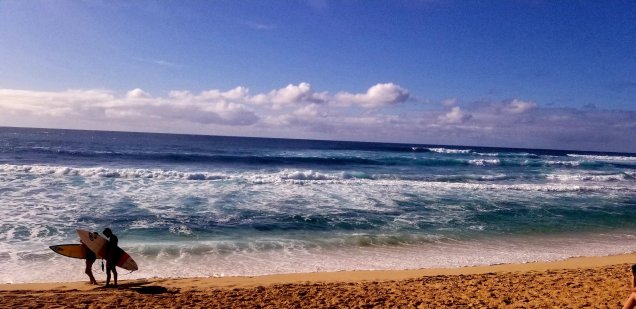
Sandy Beach
This is one of the most popular surfing beaches in Hawaii. Located on the South Shore of Oahu, Sandy Beach is known for its great body-boarding and surfing opportunities because of the shore break that breaks close to the shore and the awesome barrels all along the beach. Unfortunately though, lots of injuries occur here each year which earned it an infamous nickname ‘Broke-Neck beach’
Picture below taken from here as I can’t find a picture on my phone from Sandy Beach.
After a long day of driving around. We decided to keep the car over night so we could drive to Diamond Head the next morning. We were kind of on a budget and didn’t want to pay for the parking at the hotel (the exchange rate is terrible at the moment!) so we googled some places to park nearby that were free.
We finally found a parking lot but it looked like it closed overnight and we didn’t want to risk the car being towed. Instead, we parked on the road in a residential area a few blocks back from the hotel. I highly recommend doing this if you’re hiring a car in Hawaii. The car’s themselves aren’t too expensive to hire, it’s just the parking that really gets you!

I was craving some Pizza after walking past a pizza restaurant the night before so we stopped at California Pizza Kitchen on Ala Moana Blvd for dinner.
We ordered some Spicy Buffalo Cauliflower for our appetizer and a California Club Pizza for our main to share. Service was good, the food was a bit over-priced for what you got but I suppose that’s also because of the exchange rate.
After dinner, we went to the Tesla Showroom and checked out a few new models of the Tesla’s they had. Obviously if we can’t afford parking in Honolulu we can’t afford a Tesla but it’s always nice to dream haha!
I swear at least a quarter of the population of Vancouver drive a Tesla and I’m always so jealous. I love the Model’s X & Y because of how big and spacious they are! If I can’t get a Tesla, I suppose I will settle for a Jeep or something similar in the coming years 😀
Day Three
We actually dragged ourselves out of bed this morning and drove up to Diamond Head for the morning hike!
The trails takes you to the edge of a 300,000 year old crater and as we did it in the morning we got some amazing views of Oahu with the sun rising in the back ground. The hike itself isn’t actually that long however there are a few stairs and it’s all up-hill.
If you plan to hike at Diamond Head State Monument, make sure you go in the morning or during the day as no one is permitted to hike after 4:30 PM. Parking is also limited and can get quite busy. When we were there we thankfully got a park (cost is $5 Per Car), however there were many people that didn’t. I couldn’t believe how many people actually did the morning hike!
We were one of at least 300 + people that got up that morning to watch the sun-rise. We couldn’t even get right to the top of the stairs as there were so many people in the way – definitely a tourist attraction.

We dropped the car back at the depot after our hike and then had a walk around Waikiki looking for somewhere that did a good breakfast. (This actually took awhile because by now it was around 10am and so many places had stopped serving breakfast!)
We eventually stumbled upon Duke’s Waikiki that did a Breakfast Buffet for only USD$18.
They had everything from made-to-order Omelettes, scrambled eggs, sausages, pancakes, waffles, yogurt, fruit, cereals etc… Plus they’re right next to the beach so we had a nice view of the ocean as we ate.
This was probably our most active day yet. After breakfast, we went back to the hotel, got organised for our day and called an Uber to take us up to Koko Head Trail. (Also known as Koko Head Stairs). The Uber driver wished us luck when he dropped us off so I knew it was going to be hard!

There are so many stairs to get to the top of the trail. I think I read somewhere that there were over a thousand stairs! It’s all made up of old railroad ties that are mounted to the hillside from the bottom to the top. The military created lookout pillbox bunkers during

World War II and a railway was created on the Koko Crater trail, and used to haul cargo and supplies up to the top. Nowadays the railway is used as hiking stairs to reach the old military bunkers and ridge-line.
To be honest, as everyone had told us it was so hard I was prepared for it to be even harder than it actually was. It’s definitely a workout but not impossible. Just make sure to bring water as it gets pretty hot and there’s not a lot of shade.

The first 100 or so steps are pretty easy and then as you climb higher the railway gets a little tricky with bigger gaps between the rails and a small section that’s like a bridge but has a 40 ft drop below. It’s easy to cross if you just don’t think about it and go fast but if you have a fear of heights you really have to watch where you step.
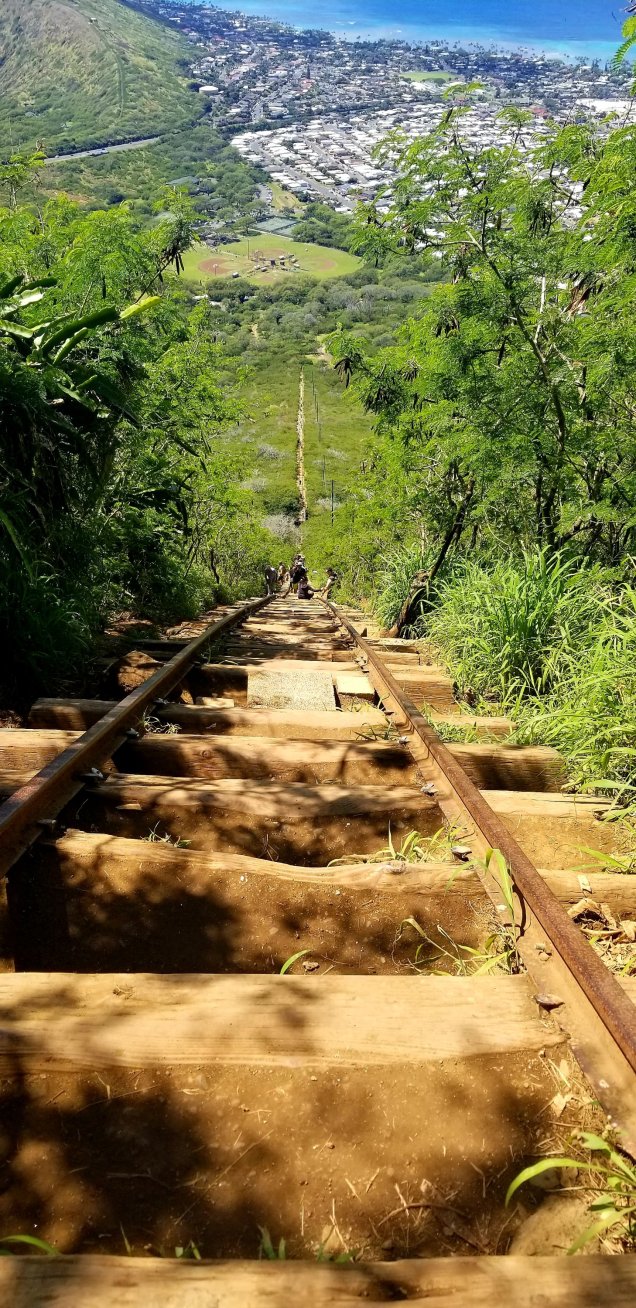
 When you eventually get to the top, the view is well worth it!

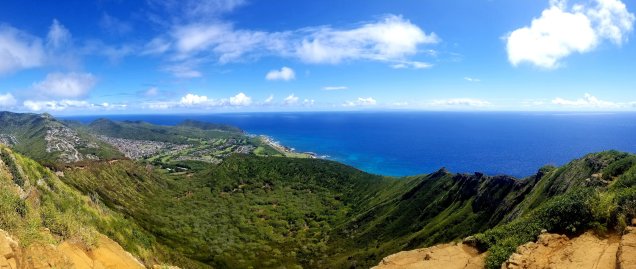 Luckily the Koko Trail was only about a 10 minute walk away from Hanauma Bay so once we walked down from the trail we walked across to the Bay for some snorkeling.
The Hanauma Bay Nature Preserve is open year-round, except for Tuesdays (this is when they allow the fish a day of feeding without interruption by swimmers), Christmas and New Year’s Day. It’s best to arrive as early as you can or wait until the crowd trickles out in the mid-afternoon as the beach can get quite crowded. As we went during Winter, there weren’t too many people however the Sun kept going behind the clouds so it got a little chilly while we were there.
 To get to the beach from the parking lot you can walk down the steep road which takes about 10 minutes or you can take a quick tram ride down for $1 and back up for $1.25. The cost to get into the bay is $7.50 and if you want to buy a snorkel set it’s around $20.00. I knew it would be pricey so I made sure to buy some Snorkel Gear in Waikiki the night before for around $10.00. I do wish I bought Flippers though because there’s a lot of coral that I was nervous I would step on, plus it makes swimming around a lot faster!
 Before you make your way down to the beach, they do make you watch a 10 minute video on Hanauma Bay beforehand. Back in 1990 they had so many visitors walking on the reef, swarming the surrounding areas, parking on the grass and on the sides of the road that measures were taken to limit the use of the bay. In August 2002 the Marine Education Center was opened at the entrance to the bay, (where we watched the short video) and received instruction about conservation of the Bay’s resources. You’re basically told not to litter, leave bottles and rubbish on the beach, step on the reef, touch the fish etc.. which is pretty understandable.
I do love to snorkel and I wish Nathan snorkeled with me because there were some
 really pretty fish! He’d just gotten a tattoo in New Zealand a few days beforehand though so couldn’t really go into the ocean. Instead he tried to sun-tan on the beach (which was a little hard with the sun disappearing behind the clouds every 2 minutes) and watched me swim around the ocean which I’m sure was super exciting for him.
I’m not going to lie – it was a little cold!
Once I had seen some fish, I joined Nathan on the sand but then got too cold that I didn’t want to go back into the water. At least I can say I snorkeled in one of the prettiest bays of Hawaii!
To get back to Waikiki, there was a bus that was meant to leave every half hour or so from the parking lot. We waited for ages with about 10 other people for this bus and it never came. I think it was just super delayed!
There were some taxi’s in the parking lot and they were offering a drive back to Waikiki for $5 per person. Nathan and I joined a family of 4 in a taxi and took it back to the city as we couldn’t be bothered waiting any more for the bus. The family we joined were actually Canadians living in Vancouver so we had a good chat on the way back about the cost of living and house prices of Vancouver haha!
When we got back to our hotel, we each had a shower and headed out to find some dinner. Turns out there was a Night Market happening on Ala Moana Blvd. There were heaps of food trucks and things to buy so Nathan got lots of different little meat dishes from various food trucks to eat. I ended up getting a burger and these little Spanish Cheese Bread things that were really good. I also got a Dole Pineapple Whip Ice-Cream that everyone raves about. I have to say I was expecting it to be like a pineapple creamy ice-cream (like a real fruit ice-cream) but I’d say it was more of a sorbet texture which was slightly disappointing but still refreshing all the same.
Day Four
Our final day in Hawaii was actually pretty relaxing!
 We had the usual dilemma of “Where do you want to have Breakfast!?” “I don’t knooooow, you choose” and then someone disagreeing on every place the other suggested.
I don’t know why we didn’t think of it sooner but The Cheesecake Factory was finally agreed on and it was a great choice. They had so many options to suit what we were craving, plus a really big drinks menu. I ordered Avocado on Toast and a smoothie while Nathan got a Corona and some other big breakfast dish that i can’t recall. I do remember he ordered it to come with Fries which is a pretty typical Nathan meal.
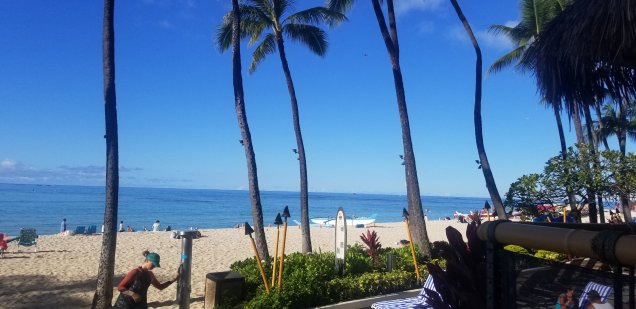
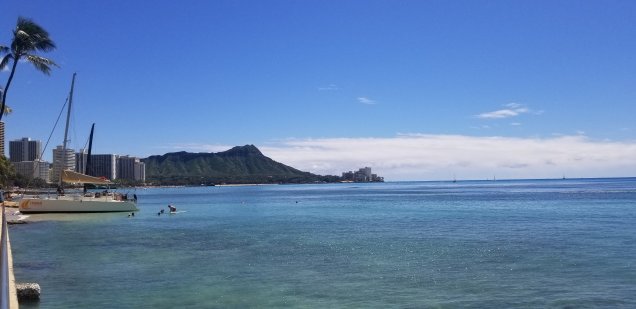
After Breakfast, we took a walk down the long stretch of beach that is Waikiki. I hadn’t properly been on this beach yet and it was a really nice day with barely any clouds in the sky – perfect beach-walking weather. There were heaps of hotels along Waikiki which looked really nice, plus some of them had pools out the front that looked out onto the ocean. The water was so nice and clear I’d love to go back! (Currently writing this as I sit at home with the heating on)
I said to Nathan that I wanted to do a quick last-minute shop and then we should head to the beach with our towels so we could swim in the Ocean on our last day.


Nathan didn’t want to shop so he said he’d go back to the hotel and sun-tan by the pool and I’d meet up with him afterwards.
I only bought a few things during my shopping trip (I spent so long trying things on and not liking them) that I eventually headed back to the hotel with only a few sports bras in my shopping bag (exciting purchases I know). When I found Nathan, he was having drinks with this group of guys here on a work trip from the U.S.
They were on their second or third day in Hawaii and were keen to get drunk and have a good time. Unfortunately for us we had a flight that night so weren’t in the mood for a crazy night but accompanied them to a bar next door anyways. I had to stop them buying me so many shots and drinks otherwise I wasn’t going to make my flight haha!
At some stage that night, we left them and went to McDonalds for a super nutritious meal of burgers and fries. Luckily back at our hotel there were a couple of girls who were on the same flight as us so we caught an Uber to the airport with them and split the cost.
Our Hawaii Vacation was officially over!
We flew back to Vancouver with Delta Airlines. They were okay, obviously not as great as Air New Zealand but they had back-seat entertainment (even if the screens were super tiny) and not much leg room but maybe we’d just been spoilt with SkyCouch on our last two flights 😉
Our flight went Via Seattle so by the time we got home it was around 9am in the morning and we’d had barely any sleep – so much turbulence on the way back I could barely get comfortable!
Luckily I didn’t have work that day so when we got home we threw some washing on and went straight to sleep.
If I could recommend anything for anyone planning to go to Hawaii it would be to hire a car and drive around whichever Island you visit!
There’s so many pretty beaches and places to see. I also highly recommend downloading the Gyspy Guide app that I mentioned earlier in this post. Honolulu can definitely be done in 4 days if you don’t have much time, I know it seems like I didn’t see much when I drove around the island but I seriously did (I just have the memory of a fish so it’s hard to remember what places I went to haha)
Until next time! x


 When you do eventually arrive into Canada, make sure to bring your POE letter with you and get your Visa issued before the expiry date of the letter.
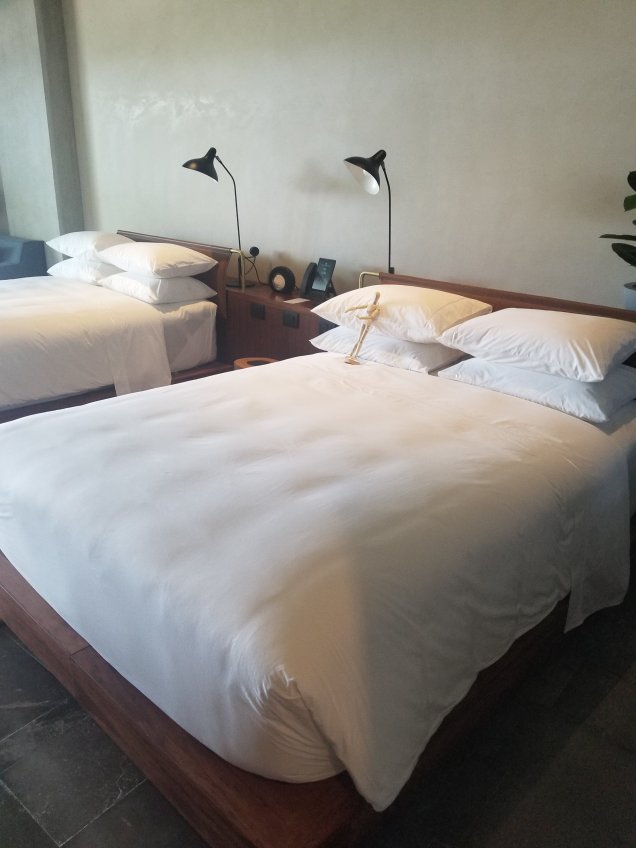
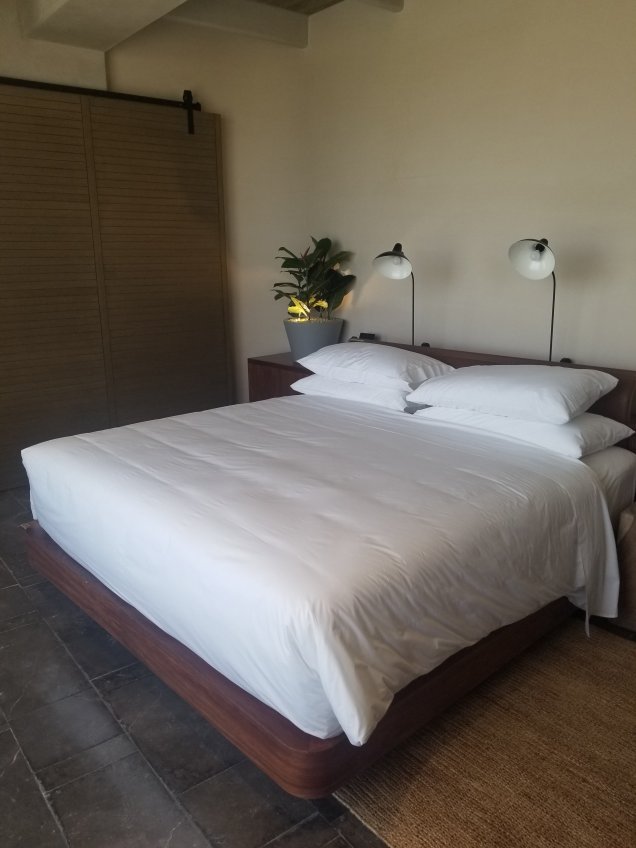
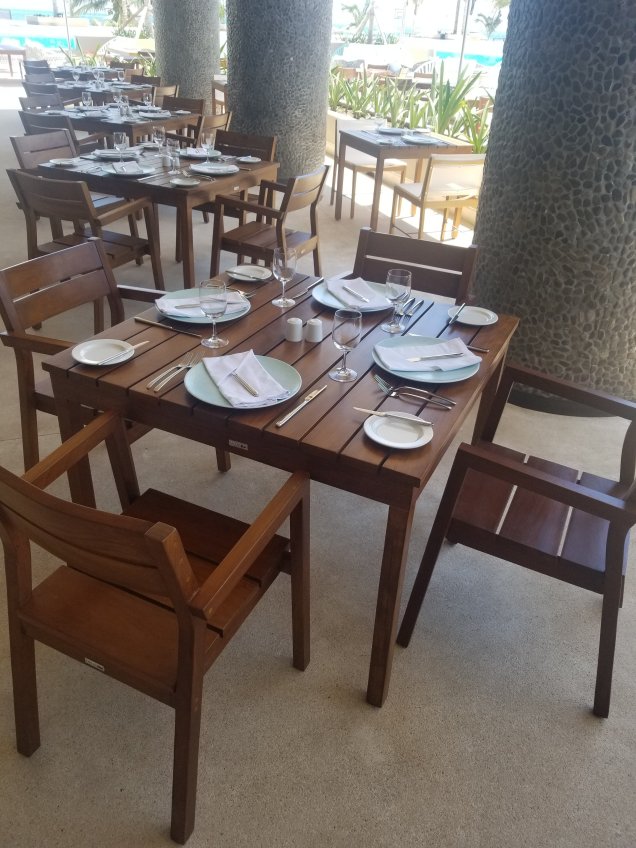
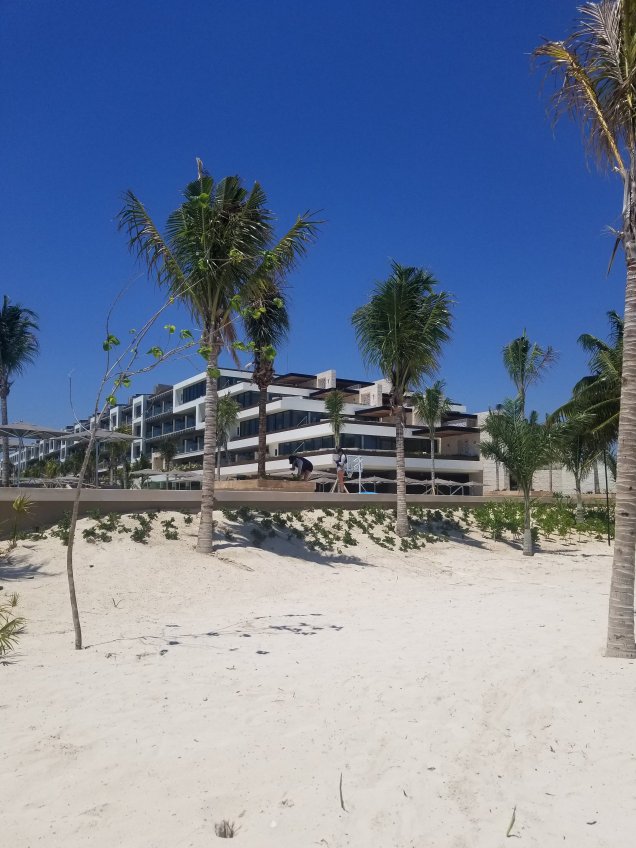
 At the Atelier there are 421 Suites, however they are currently building another hotel next door called ‘EStudio’ which will bring the combined total of rooms at both resorts to 600.